

How to Add an Estimate Calculator to WordPress
Quick Answer: How Do You Add an Estimate Calculator to WordPress?
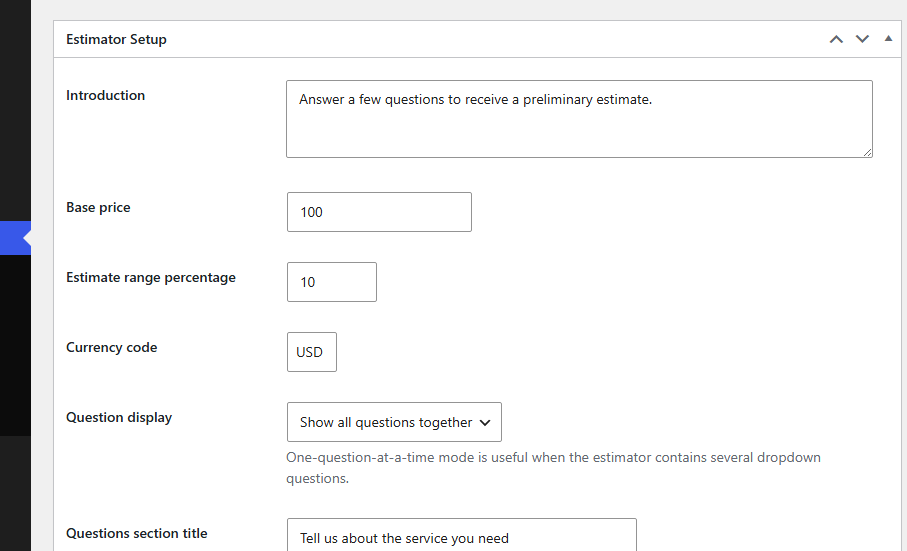
- Plan the estimator. Decide which job details, measurements, conditions, and customer information you need.
- Create the questions. Add the service-specific questions and required answer choices.
- Configure price guidance. Use preliminary ranges only when your real estimating method supports them.
- Set up lead capture. Collect the contact details, notes, service location, and optional photos needed for follow-up.
- Add it to WordPress. Place the estimator with Elementor, a shortcode, an embedded section, or a popup.
- Test before publishing. Check validation, mobile behavior, photo uploads, lead records, email delivery, and the final success message.
Qualification
Price guidance
Lead capture
Step 1: Map the Questions and Answer Choices
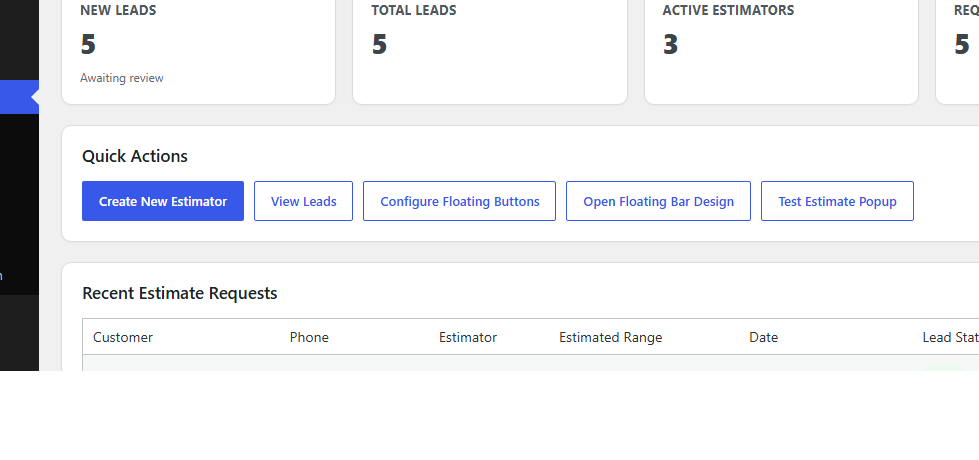
- Choose the service or project type.
- Ask for the size, quantity, or volume that affects the work.
- Ask about condition, difficulty, access, or location.
- Offer only add-ons the business actually performs.
- Identify unsupported or uncertain situations that need manual review.
- Decide which answers must be required and which can remain optional.
Keep labels short and understandable on a phone. Avoid asking for information that does not change qualification, guidance, or follow-up.
Step 2: Install EstimateFlow Pro and Create the Estimator

Step 3: Configure Preliminary Price Guidance
- Use ranges when job conditions create real uncertainty.
- Explain the assumptions behind the displayed guidance.
- Route unusual, unsafe, prohibited, or complex requests to review.
- Do not invent precision from incomplete customer answers.
- Keep the final price subject to business verification.
If reliable online pricing is not possible, use the estimator to qualify the lead without displaying an automatic amount.
Step 4: Configure Contact Details, Photos, and Confirmation
Step 5: Add the Estimator With Elementor or a Shortcode

Step 6: Choose Embedded, Popup, or Page-Specific Placement
Step 7: Test the Complete Customer Journey
- Test Chrome, Edge, Firefox, and mobile Safari when available.
- Confirm the popup closes correctly and the page can scroll afterward.
- Verify the preliminary range changes as expected.
- Confirm the lead record includes answers, contact details, and all uploaded photos.
- Test email delivery and check the spam folder.
- Clear website and browser caches after changing popup or floating-action settings.
- Test rate limiting without blocking ordinary customer use.

Step 8: Publish and Measure Lead Quality
Common Setup Mistakes to Avoid
- Creating questions before defining the estimator’s purpose.
- Using too many small pricing adjustments that imply false precision.
- Calling a preliminary result a guaranteed quote.
- Requesting contact information before the visitor sees any useful interaction.
- Using one general estimator on pages that need different questions.
- Failing to test mobile popups, required validation, photo uploads, and email.
- Publishing unsupported claims about payments, scheduling, or final contracts.
- Forgetting to review the live page after caching or design changes.
WordPress Estimate Calculator FAQs
Can I add an estimate calculator to WordPress without coding?
Yes. EstimateFlow Pro can be placed with its Elementor widget or shortcode, so the estimator can be added without writing a custom calculator from scratch.
Can I put a different estimator on each service page?
Yes. Service-specific estimators can use different questions, and page-specific popup placement can help visitors open the estimator that matches the service they are viewing.
Should an online estimate be a guaranteed quote?
Not when important job conditions still require verification. Use clear preliminary-range wording and confirm the final scope and price through the business's normal review process.
Can customers upload photos with an estimate request?
Yes. Optional photos can provide useful context about condition, access, size, items, or the work area before follow-up.
Does adding an estimator automatically improve Google rankings?
No. The estimator can improve the usefulness of a page, but search visibility also depends on helpful crawlable content, internal links, technical accessibility, page experience, relevance, and the overall quality of the website.
Add EstimateFlow Pro to Your WordPress Website
Use the EstimateFlow Pro documentation, try the live demo, explore the WordPress estimate calculator plugin, review EstimateFlow Pro features, or learn about the online estimate form.